Modding the Arcade1up Cocktail Arcade
There comes a time in every woman’s life when she needs to put a Raspberry Pi in something. For me, that time is now; and the thing that requires the Pi inside it is the Arcade1up Street Fighter table. For, though twelve games is good, surely thousands of games would be better? Let’s dig in!
The Table
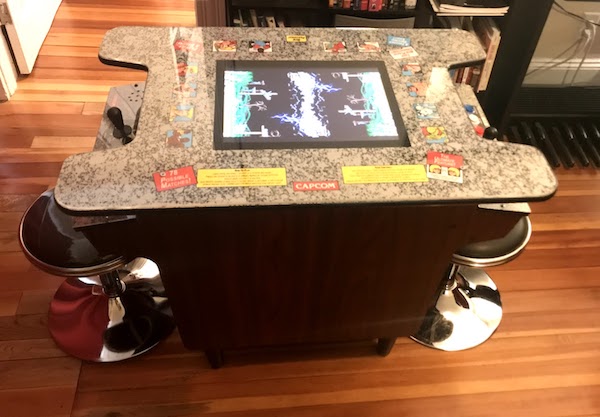
Arcade1up put the logos of the twelve included games on the side, on a glossy black background. It looked cheap, in my opinion, and the woodgrain I’ve covered it with is much more classy. Indeed, with the woodgrain sides and the arcade tabletop art, I think this now looks better than the “Black Edition” versions they’re now pushing.
Additionally, the height’s been raised with some standard sofa feet. These were among the cheapest I could find, and yet they fit perfectly. It brings the whole table up just a bit; too high, and it wouldn’t be usable with the classy low arcade stools. Overall it’s a striking look.
The Hardware
What’s a Raspberry Pi?
Okay on one hand, honestly, I find it hard to believe anyone found this blog without knowing what a Raspberry Pi is– but if you did, welcome nevertheless! The Raspberry Pi is a line of super-cheap low-end ARM computers created by the British Raspberry Pi Foundation, initially as a learning tool, but they’ve found a wide variety of uses. These usually come as a bare circuit board.
The nice thing about the Raspberry Pi is that since they’re cheap and very easily obtainable, there’s a huge community of people developing for them. For projects like this, the standard is RetroPie, which distributes a stock disk image. Burn that to an SD card, and nearly all the software work is done! (Of course, for retrogaming, you need to add game ROMs, which I’ll assume you legally obtained by purchasing original arcade ROM chips and dumping them yourself)
In this case, I have to thank my dear sister Melissa, who gave me the Raspberry Pi B 3+ as a Christmas present. That’s what really initiated this whole project.
The Screen
A nice thing here is that many, many people have modded Arcade1up cabinets with a Raspberry Pi already. Go on YouTube and search “arcade1up raspberry pi”, and you’ll see tons upon tons. This isn’t new ground.
The first thing you’ll need is a display encoder board. This will allow your Arcade1up’s monitor to take HDMI input. The Arcade1up cocktail monitor is a 4:3 1280x960 display panel with excellent viewing angles, and so why not reuse it? Here’s the board I used, but note that you don’t actually need the “inverter” board. I’m not entirely sure what it does.
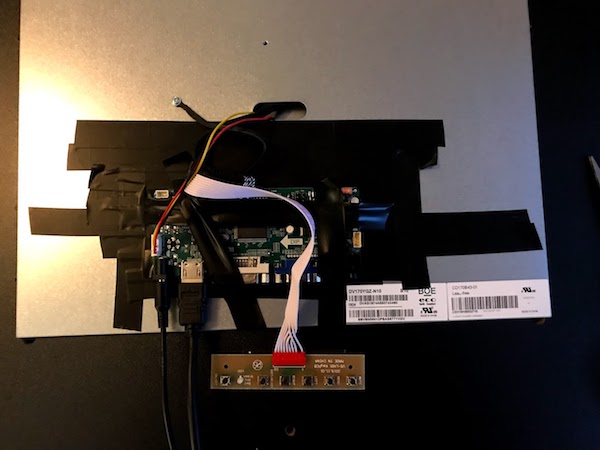
The monitor’s covered in an metal shield, and the easiest place to mount the board is on that shield. Make sure to insulate it well, though. You don’t want any sparks, or the monitor will behave oddly and you could damage it. (I got the former, but thankfully avoided the latter. Learn from my errors)
The Controls
For the controls, you just need to convert the existing control boards to USB. The easiest way to do this is with a circuit board called the “Zero Delay” board; they’re all over the internet and one seems to be as good as another.
Many of these come as kits with buttons, but I would say, don’t bother buying those. The buttons you’ll get are as cheap if not cheaper than the Arcade1up buttons. Even worse, the space inside the control units of the cocktail table is pretty sparse, so tall Happ-style buttons are a no-go. Sanwas should fit, but if you really like having no feel to your buttons you should be fine with the stock buttons. (Nicole is allowed to have opinions, even if everyone who plays fighting games thinks she’s wrong)
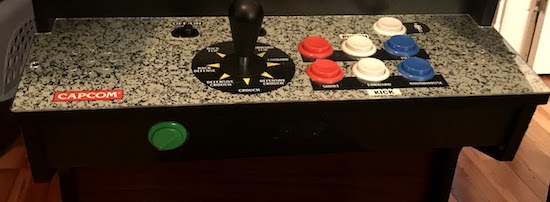
Actually, I did use a Sanwa button; I added one to the front of the player 1 panel to act as an insert coin button. Additionally, I hooked up both sides of the volume slider to two buttons; this allowed me to configure the software to use them as volume control buttons.
You don’t actually need to do any soldering here. For example, here’s my player 2 panel. Every time I couldn’t use the original cables and connectors, I used butt splices (that’s just what they’re called! Altavista it!). If you’re comfortable soldering, that’s cool too.
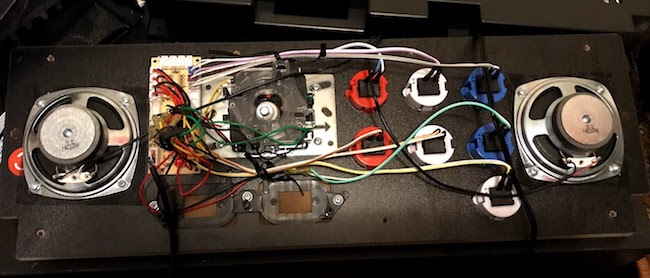
Don’t worry about where exactly you put the switches for the buttons on the board, but try to be consistent on which button you put in which slot on each side. It’ll help later.
Sound
The stock speakers on the Arcade1up are fine, and use a standard 3.5mm headphone jack. However, they are unpowered speakers, so you’ll need an amplifier. I used a cheap $9 18W amplifier, but anything will do. Since you’re powering a 3.5mm jack output, in retrospect I would’ve tried a headphone amp, as it might’ve been easier.
The Power
Finally, we want the whole thing to use electrical power. I used an IoT Relay, which turns on when 5 volts are applied. This was so that I could use the stock Arcade1up power switch; I didn’t feel comfortable putting 120V across that little switch, when it wasn’t designed for that. I get the 5V from an old cellphone charger.
Being a relay, you also get a nice strong click when turning the machine on and off. Gotta love that extra oomph.
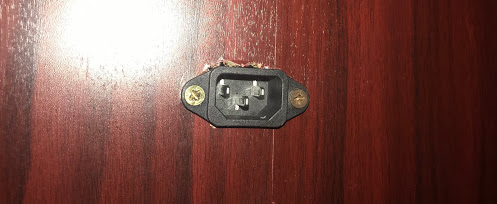
On the outside, I used a saw and did a terrible job enlarging the stock power hole large enough to fit an IEC connector. This means that any standard power cord of the sort you’d use on a computer or monitor (the Brits call it a “kettle lead”, apparently) will work, and I have tons of those lying around. It’s good to make your cables removable!
USB ports
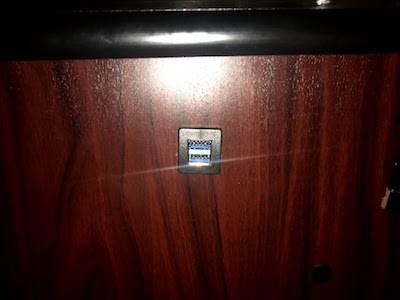
An external keyboard is very helpful for configuring the software, and locked in the cocktail cabinet box, you don’t want to be constantly taking the top on and off. Therefore, I added two USB ports to the side (using a piece meant for cars, apparently). They’re USB 3.0 ports, even though the Raspberry Pi doesn’t support USB 3.0. Uh… future-proofing?
The Software
None of this, though, is any good without software. As noted above, I’m using RetroPie. To get the UI rotated 270 degrees to face the player 1 side, I needed to put the following in /opt/retropie/configs/all/autostart.sh
emulationstation --screenrotate 3 --windowed --resolution 1280 960
That --windowed is very important! Otherwise it will try to force the monitor to a weird resolution. But once it’s set up, you should get a nicely rotated UI. It’s also a prerequisite to using any other themes you’d like.
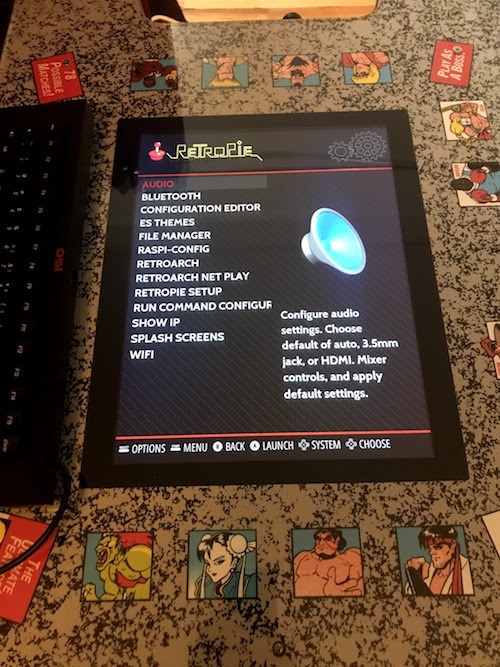
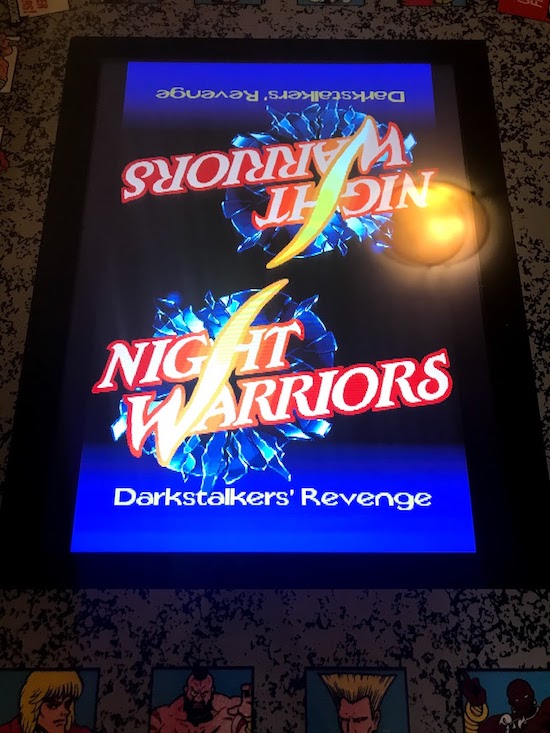
Finally, while vertical games are easy to configure (just set the right screen rotation in the emulator menu), you probably want to know: can you get the “Head 2 Head” feature that this whole table is built around? And the answer is yes!
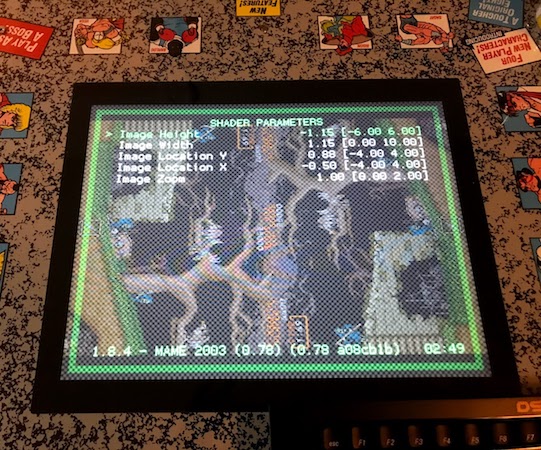
Here on GitHub is a “shader”, a bit of code that runs on the GPU that will turn your game into a head to head mode. Note that you’ll have to spend some time adjusting the shader parameters; these are all in the emulator menus. You’ll probably need to do these for each resolution; thankfully, the Capcom CPS fighters all use the same resolution.
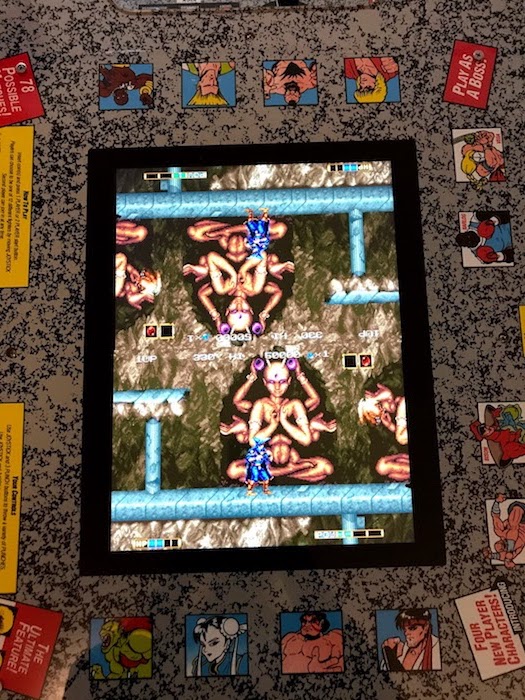
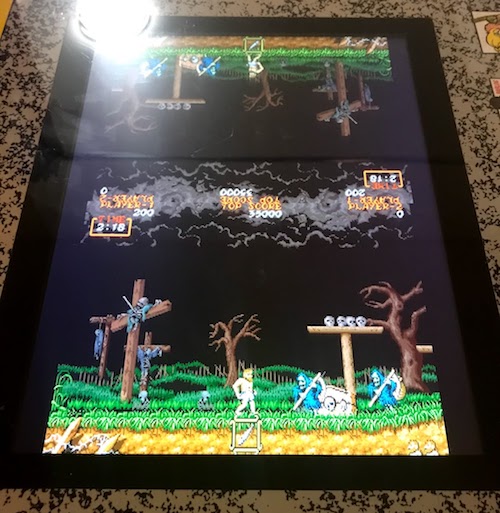
I will, however, stress one downside of this: since this is a shader, it isn’t aware of the game that’s being played. Therefore, you don’t get nice effects like the Ghosts N’ Goblins having the current player’s side of the table getting a larger image.
Conclusion
This was a fun project to make, and was my first big attempt into hardware modding! Amusingly, though, what really gave me trouble here was the software side, simple things like button configuration and getting the emulators working properly.
So was it worth it? If you go into it knowing that software might be a bit tricky, and you’ve been getting bored of the built-in games, then in that case I’d actually say yes. It’s a nice conversation piece, and it’s fun to have something to mess around with.
Plus, you can force the cast of Street Fighter II to watch you play Neo-Geo games. That’s good fun.
