Review! The Ugears Hurdy-Gurdy!
On this blog, you’ve probably noticed that I have a bit of an interest of vintage technology. Today, though, we’re going to take that to a ridiculous point by taking a look at some medieval technology, as I try to put together a wooden kit that mimics a historical instrument. What have I gotten myself into? Will the tips of my thumbs ever recover?
The Hurdy-Gurdy
In medieval Europe, Pope Innocent LXVIII was tortured by the sound of fighting cats outside his Rome office. Even moving to Avignon didn’t help, and he was kept up all night by the screeching. Finally, he ordered all the cats in Christiandom to be expelled or killed; being the Pope, it was quickly carried out.
Unfortunately, due to the lack of cats, the rat population exploded. This left Europe ripe for the Black Plague, and millions died. (A major plague made worse by government incompetence thankfully could never happen today) His successor, Pope Guilty XI.V, decided to try to attract the cats to come back by creating a musical instrument that could reproduce the squeal of an angry cat: The Hurdy-Gurdy was born.
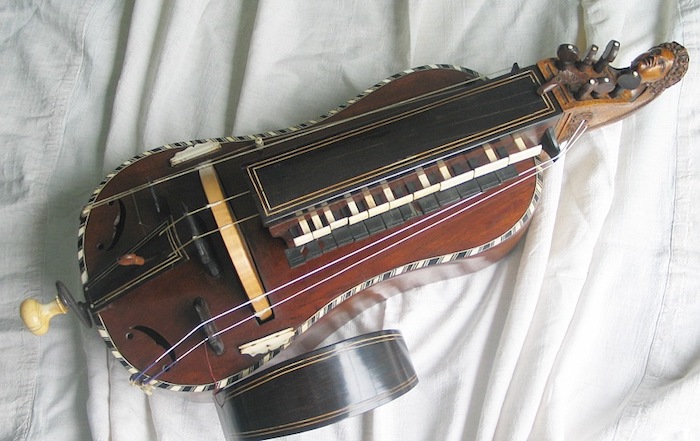 Image from Wikipedia user Frinck31
Okay, that might not be historically accurate. But the Hurdy-gurdy is a medieval instrument; it’s very similar to the later violin (being derived from the likely ancestor of all European bowed instruments, the Arabic rabab), but with three crucial design changes.
- The violin as well as the rabab are bowed, which means that notes can’t run indefinitely like a bagpipe or a pipe organ. The hurdy-gurdy has a wooden wheel covered in rosin which is cranked. As long as it’s cranked, the instrument will sound.
- Bowed instruments are usually fretless, which means that precise placement of the fingers is needed to play a particular note. In exchange for this, perfect slides and more note variety are possible. The hurdy-gurdy, however, encloses the strings in a box, and uses wooden tangents to hit notes. This is as close as we’d get to a violin with keys until the 1974 ARP String Ensemble.
- Finally, all of the strings on the violin can play different notes. However, hurdy-gurdys usually have drone strings, which are not controlled by the tangents and just play a single note. A very similar concept exists on the bagpipes, which are contemporary.
That’s right: the hurdy-gurdy is a medieval mashup of a violin, a keyboard, and the bagpipes. Having fallen out of favor with the elites after the Renaissance, today it survives mostly in European folk music.
The Kit
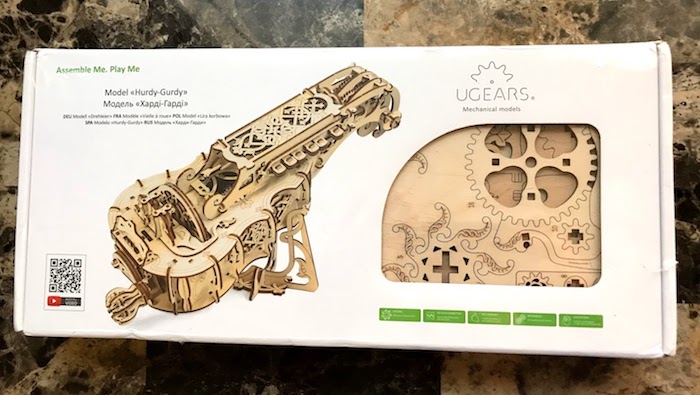
Today we’re not looking at a real hurdy-gurdy, but instead a kit by a company named UGears. They’re a Ukrainian company that has apparently been around awhile, but I hadn’t heard of them before. They sell wooden laser-cut kits that are designed to be put together without tools.
Perhaps I should’ve started with something smaller and easier, but when I saw their hurdy-gurdy kit, I couldn’t resist. I’m not under any impression that I’m going to make a beautiful-sounding instrument. But it seemed like a fun project. A kit like this is like puzzle, but instead of having a still iamge at the end, you have something that’s kind of like a musical instrument. But like a puzzle, putting it together should be the fun part.
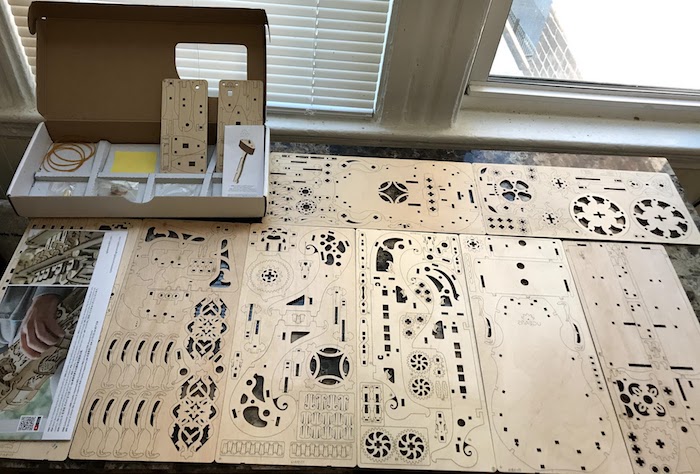
Still, when I unboxed it and took out all the laser-cut panels, I started to get a little bit worried about what exactly I’d gotten myself into.
Putting it together
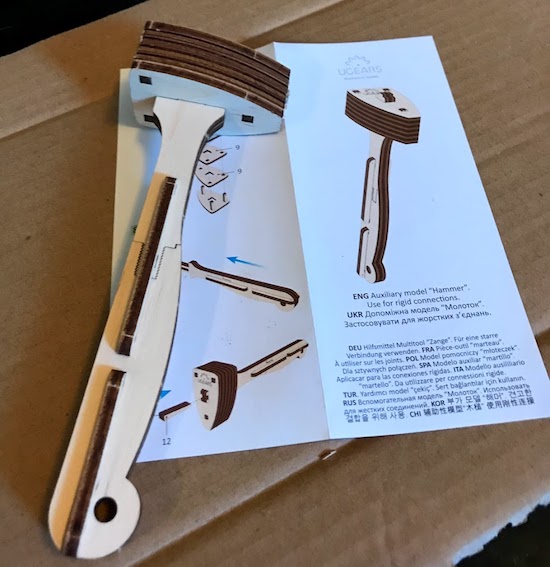
The first step is to put together a tool for helping put things together. This is good, because it helped get me a feel for how this goes, and if it didn’t work and I snapped something cruical, well, getting a hammer from somewhere else is a lot easier than getting a new laser-cut pattern.
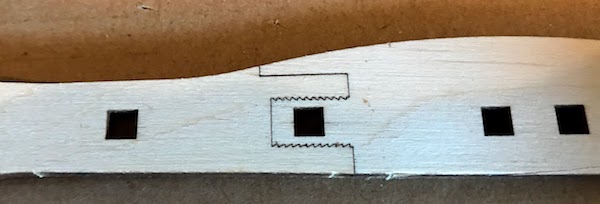
The pieces are laser cut into sheets of soft wood. You can see thin sections that keep the pieces from falling out in shipping. Initially, when putting together the hammer I carefully sliced these out with a knife. However, I found that I could pop them out with my hands.
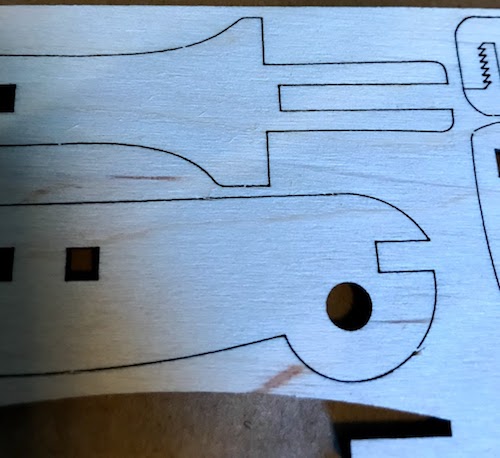
The pieces are just as advertised, and are intended to be put together without any glue or fasteners outside of the provided wood. This is achieved through very fine tolerances and tiny parts. As a result, the amount of effort required to push two parts together is pretty terrifying!
The instructions are pretty easy to follow, being all pictures. Putting the hammer together quickly makes it clear how useful it is to have a hammer to put these things together; the pads of my thumbs got sore very fast from all the pushing. Still, soon enough I did indeed have a hammer!
Onto the real thing!
Assembling the kit is supposed to take 4-5 hours. That sounds pretty much exactly how long it took me, spaced over an evening and the next morning.
One thing I had initially considered was putting together the kit, but then if I liked it, I would take it apart and stain the wood to make it look better (I prefer the look of dark woods to lighter ones). However, it quickly became clear that wasn’t going to work. The joints may have no fasteners, but they’re really only intended to be put together once. Taking things apart, they quickly splintered.
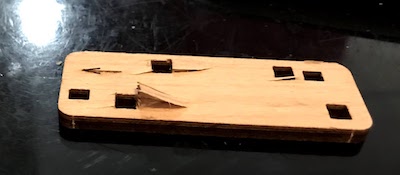
The kit includes a bit of wax to use as a lubricant; when it recommends you use some, you definitely should listen. In general, it was hard to tell when two pieces not fitting properly was because I screwed up, or when two pieces just needed to fit together snugly.
For example, here you can see the tangents, which are a sort of keyboard. They’re held in place by wooden tabs held by rubber bands, which allows them to snap back when they’re not being pressed.
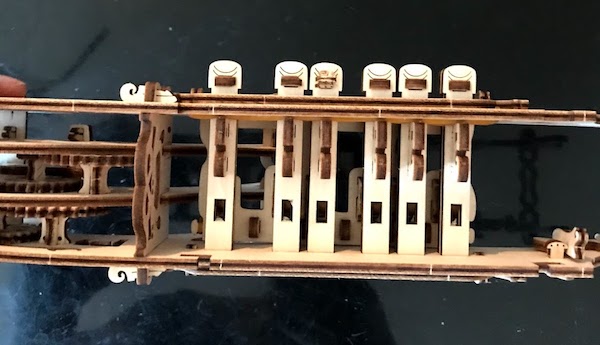
You can also see that tangent #3 has crushed wood. This is because I installed the two pieces of the tangent backwards, and then rather than notice I had it wrong, had tried to force the wood together with a metal set of pliers. The wood quickly collapsed. You really don’t want to use anything harsher than the wooden hammer on these.
Thankfully, this doesn’t prevent the tangent from working. Sadly, this is the face-up side.
The Final Instrument!
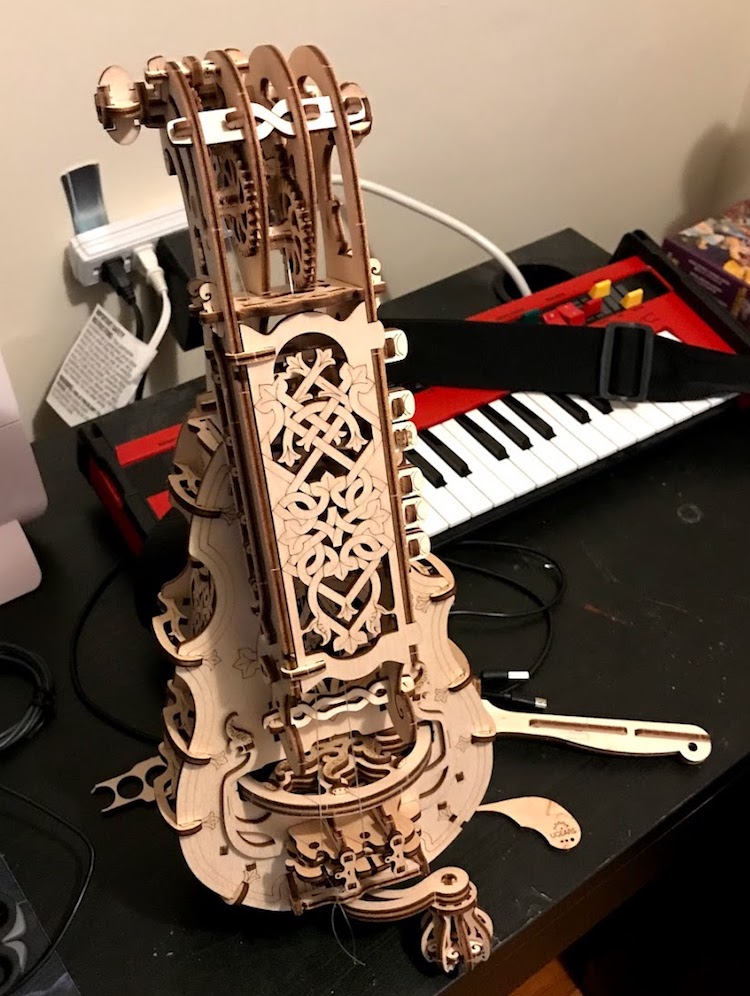
So, now it’s done! It looks pretty sharp, and I only irrevocably damaged two pieces that were purely decorative. The strings are fishing line; a proper hurdy-gurdy wouldn’t use that, but again, this isn’t really an instrument as much as it is a project. There’s a reason it comes with that display stand as part of the kit.
But… do you really want to hear how it sounds? I guess I’ll give in… but it’s my first time playing the ‘gurdy, so be gentle.
So yeah, I think maybe I could’ve done a better job using the wax to lubricate those wooden gears. You can look on YouTube to find examples of the proper hurdy-gurdy, and it can sound much, much better. Even the UGears one can in the hands of someone who knows what they’re doing. I’m just glad it makes a noise at all.
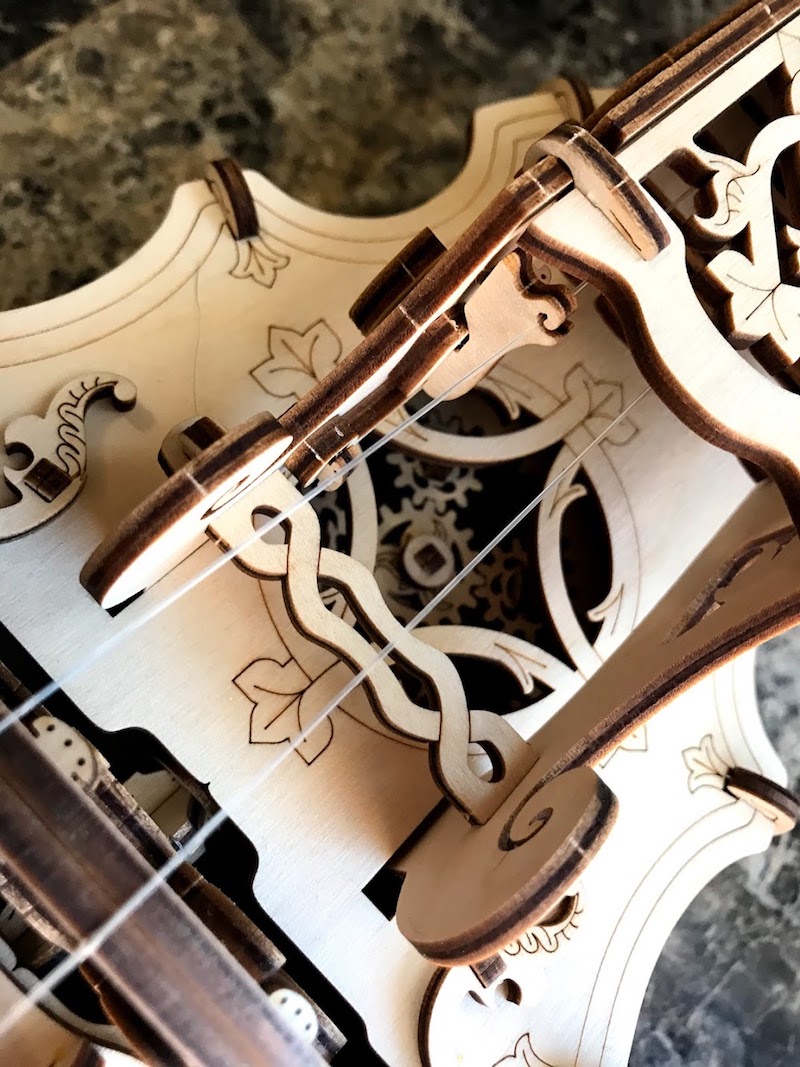
Plus, watching those gears spin inside the body of the gurdy is just cool. Overall, this was a pretty fun kit to put together! If I did anything differently, it’d be to wear gloves, though. My fingertips still hurt.
