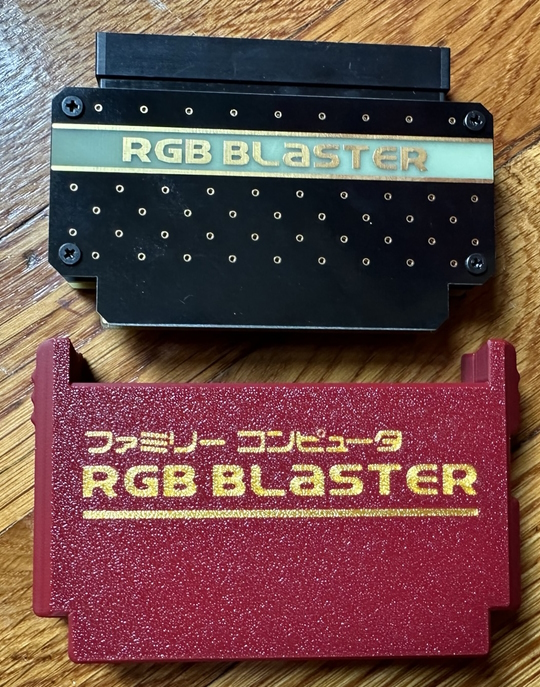
A Review of the RGB Blaster: No Mod, No Problem
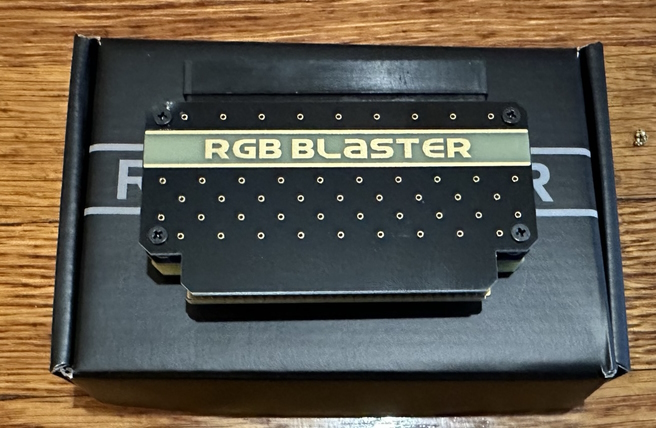
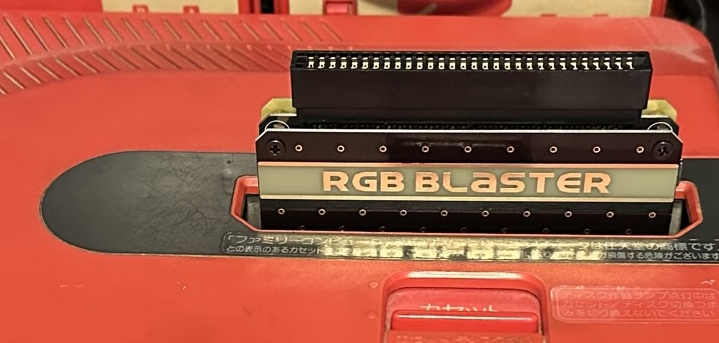
It seems like I’m covering krikzz’s products a bunch now, with the Turbo EverDrive Pro and now this. But it’s not my fault he keeps making interesting things! Here, we see something particularly interesting: the RGB Blaster, an affordable device that promises Famicom users RGB video directly from the cartridge slot. How is this possible? How does it work? And I’ll say in advance, this one surprised me: things I expected to work didn’t, and things I didn’t expect to work did.
This post is not sponsored in any way, shape, or form. I paid full retail price for the items discussed in this post, and did not have any discussion with krikzz prior to publishing this post.
How?
Behold, the Ricoh 2C02. The Picture Processing Unit; a very capable video chip of its time, with multicolor sprites, scrolling tilemaps, a 54 color palette, and more. This produces all the unique look of Famicom and NES games that are still imitated to this day.
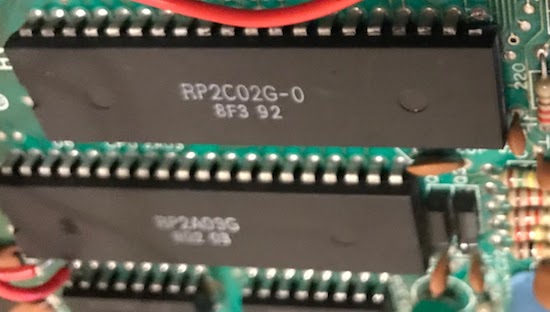
But one thing that the PPU can’t do, is output anything other than composite video. There are a few RGB variants Nintendo created for their arcade systems, but they have strange variations on the color palettes. (This was actually how Nintendo prevented arcade operators from just burning games themselves on pirate EPROMs) So how come there are so many RGB-modded NESes and Famicoms out there?
It turns out that the PPU has a secret up its sleeve. Four pins on the pinout, labeled EXT0-3. These are just grounded on the stock consoles, but it turns out that you can place the PPU in a special mode where it outputs the current color palette index over these pins. The RGB mods sit between the PPU and the console, and take advantage of this, listening to all palette writes, along with some extra trickery to distinguish sprites from backgrounds. The upside is, in an RGB-modded console, the stock PPU draws all the pixels.
You can’t take advantage of those EXT pins on a stock console, though. They’re grounded; putting them in output mode is probably not good for the PPU and could damage it. And even if you did that, they’re not output anywhere. The RGB Blaster, therefore, has to do something a little different.
Back when I discussed NES mappers, I noted that one thing that made them possible is that the PPU does not rely on internal video RAM, like the Sega Master System, ColecoVision, Super Nintendo, or almost every other console does. Instead, it actually exposes the video memory bus, and expects the cartridge to attach things to it. The pinout of the Famicom cart is quite large for an 8-bit system:
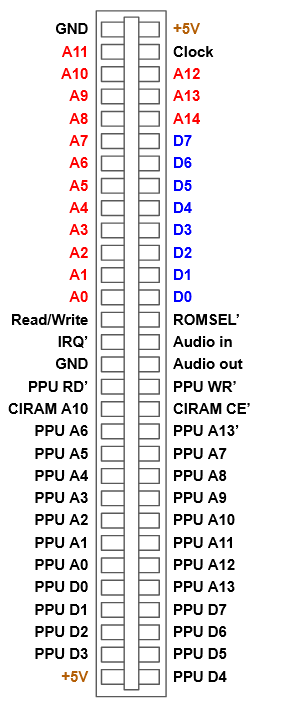
In theory, almost everything the PPU uses to draw the screen is done over this bus. The main exception are sprites (their memory is internal to the PPU); but we also have the CPU bus available, so you can also keep track of the writes to OAM memory. (Usually filled using DMA each frame)
And that’s how the RGB Blaster works. Note that compared to the internal mod case, the PPU has to be substantially reimplemented inside the Blaster’s FPGA. This is a much more difficult task. But you can still get a lot of information from the PPU fetches; this isn’t a fully emulated PPU. But it’s doing more work than the NESRGB.
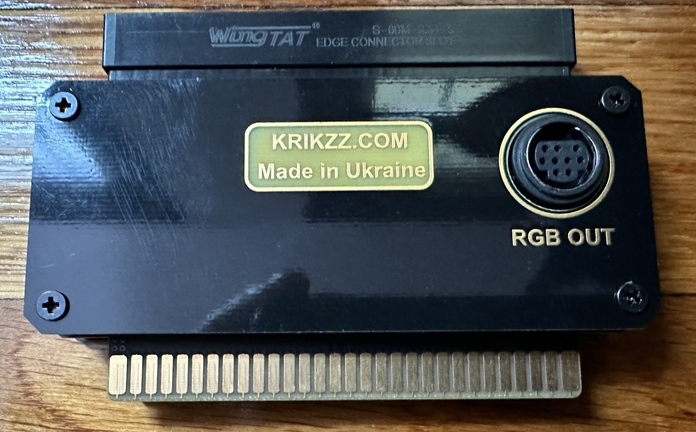
The video is output using a Genesis 2-style connector. This seems to be rapidly becoming the standard for enthusiast RGB devices, as it’s easier to find cables for than the 8-pin Framemeister RGB port that was also popular. Personally, I’m starting to prefer the HD15 “VGA” port (the Axunworks Supergun Mini convinced me), but that may not have fit very well on such a slim device.
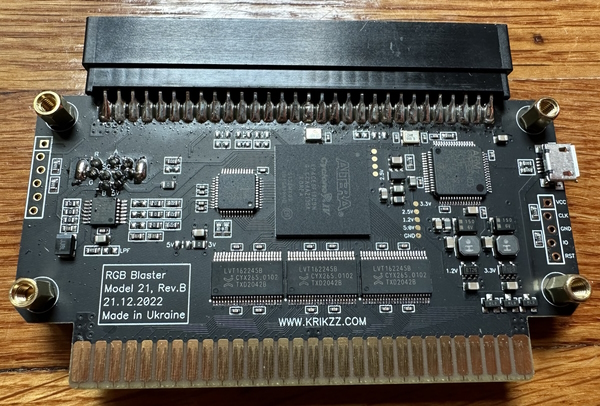
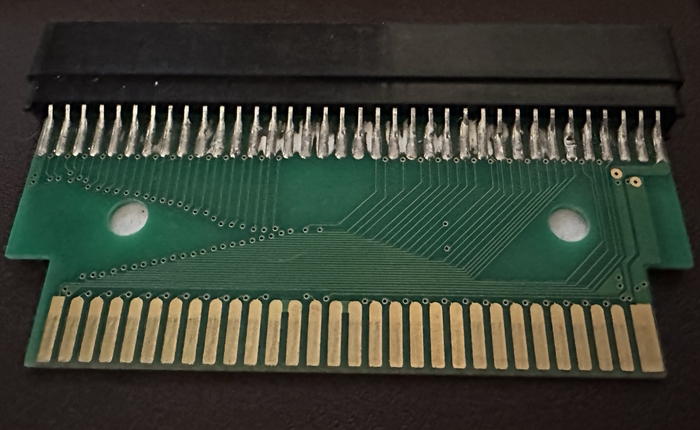
Note that the internals of the RGB Blaster don’t really give many details of how it works; all the magic is locked up in that FPGA. Everything else are just a few bus transceivers to handle the level shift, some analog parts, power regulators, and finally a reminder of why, while it sucks for hobbyists, the chip market is all-in on tiny surface-mount parts. Everything perfectly machine-soldered up until the through-hole video port, which require dirty human hands.
You’ll also see that this is revision B: the first round of RGB Blaster devices had a number of issues with the signals. I didn’t manage to get my hands on this until the second round– analog video is hard, so waiting for the revision was probably the best option. A digital output would’ve been nice, but it’s understandable that it’s missing, and honestly it’s not like I don’t have enough upscalers.
Let’s turn it on
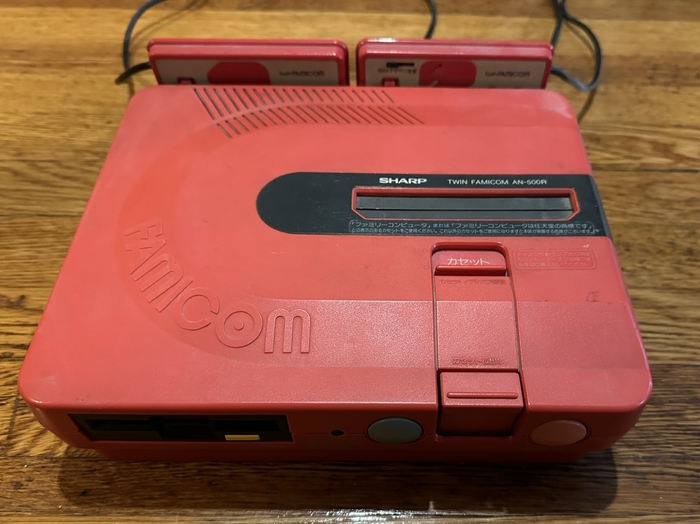
So, I broke out my Sharp Twin Famicom. This is what started my interest in interesting retro machines, grossly overpaying for it at an anime convention long enough ago that I don’t actually want to count the numbers, lest I feel old.
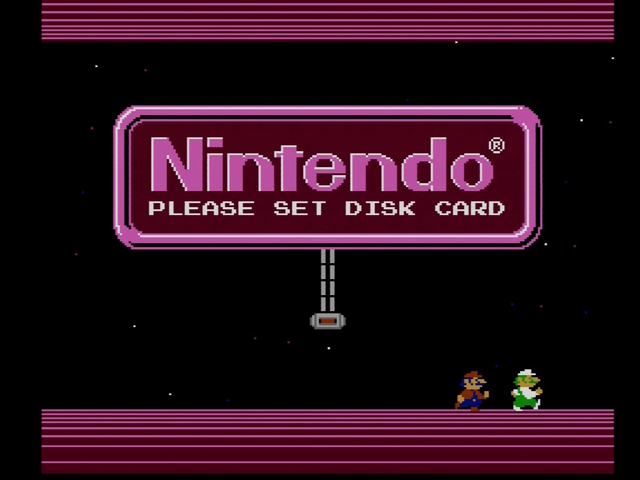
So my first thought was to take advantage of this machine’s built-in Famicom Disk System. However, there turned out to be an insurmountable issue.
See, while I was hoping all the necessary signals would still be on the cartridge slot, what I missed is that the Twin Famicom is designed so that the cartridge slot and disk system can’t be used at the same time, physically. Normally a smart move, but now I’m afraid the game can’t be continued. Please press the Reset Button and try again.
And I did try again, but not with the Disk System. Here you can watch along me, my first view of the Famicom RGB Blaster. And what better game than Namco’s Star Wars. In case you’re curious, this Japanese cartridge isn’t the same game we got here in the United States.
The Twin Famicom, much like the Nintendo Entertainment System but unlike the original Famicom, has a built-in composite video output; mine is completely stock, unmodded beyond some scratches in the plastic. It looks pretty decent too. That shimmering on the vertically scrolling text is due to video capture and compression, so let’s look at some still shots.
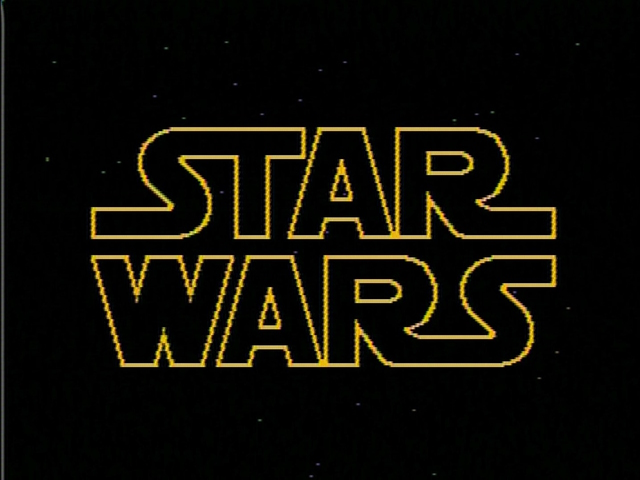
That being said, there are some giveaways even in this simple example; most notably, look at the left side of the “R” in WARS; that sort of straight vertical line just isn’t well-suited to composite video. RGB, on the other hand:

Very crisp lines as we’d expect. The palette’s a little darker, but NES palettes are a rabbit hole I won’t be going into today. Namco Star Wars uses the Namcot 129 circuitboard, with 128kiB of PRG-ROM bank-switched in 8kiB chunks, 128kiB of CHR-ROM bankswitched in 1kiB chunks, and an IRQ counter; by 1987, Namco were masters of the PPU, even if their games rarely made it outside Japan.
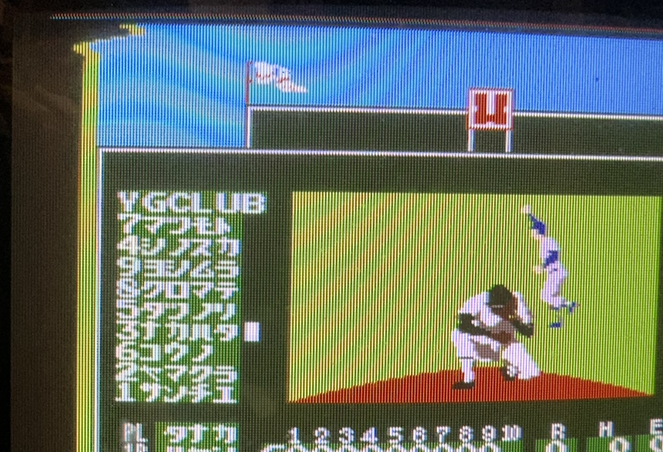
The Namco 129 has expansion audio, but Star Wars doesn’t use it. But that doesn’t matter; the RGB Blaster grabs the audio from the cartridge edge connector, so expansion audio is naturally included. Don’t take my word for it– take the words of Moero! Pro Yakyuu, generated by an NEC µPD7756C ADPCM playback chip.
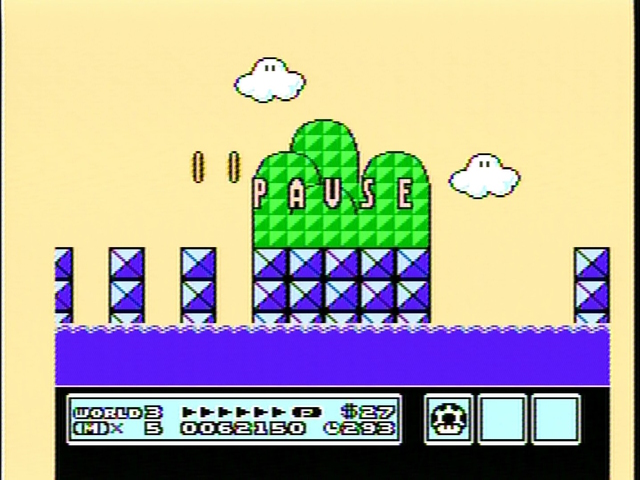
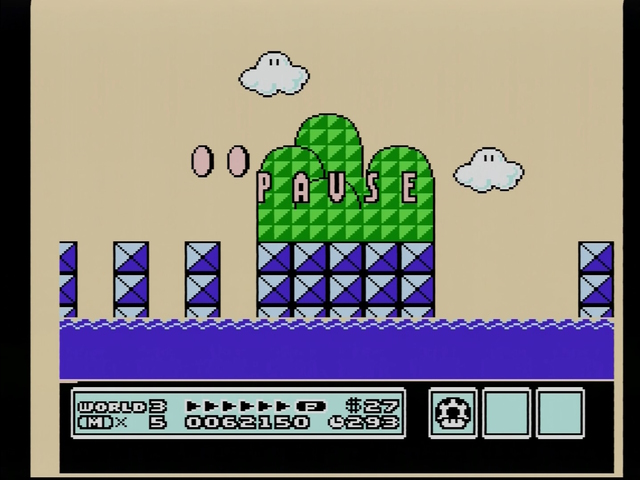
I was even able to reproduce glitches, such as the area above the status bar on the lower-left in Super Mario Bros 3. A nice thing here is that it’s perfectly safe to use the composite and RGB signals at the same time, since they’re generated via entirely different pathways and no signals are shared.
Bang bang
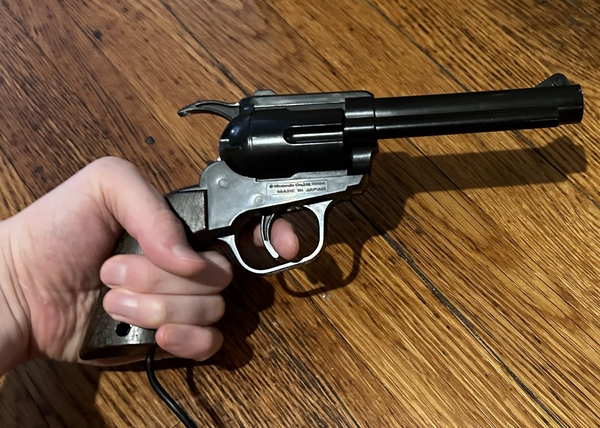
When you have analog video on the Nintendo Entertainment System, there’s one question everyone will be asking: can it play Duck Hunt? And, since this is a Famicom, and not a Nintendo Entertainment System, we get to use a real six-shooter. Well, er, a plastic one, obviously.
And here’s the thing. I did break out the Hogan’s Alley, my favorite light gun game for you all.
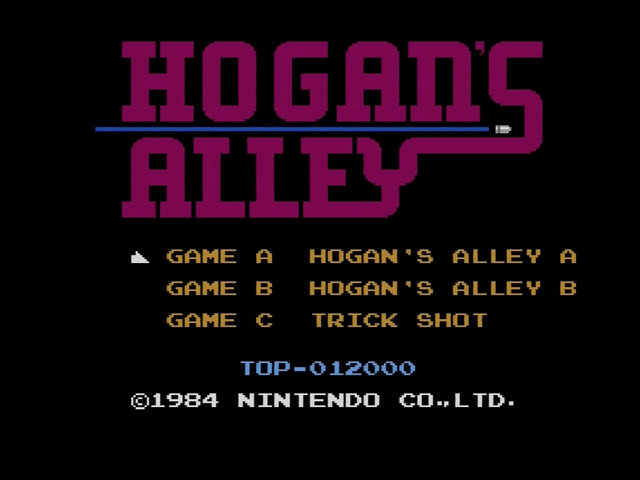
And I did get some hits! Which is good. But I played really badly generally, so I can’t really put this up as more than chance. (I did get more hits over RGB than over composite to compare) It turns out I’m really bad at lightgun games; they weren’t a part of my childhood like they were for a lot of people. Note that this screenshot is composite because the RGB was hooked up to my Trinitron at the time.
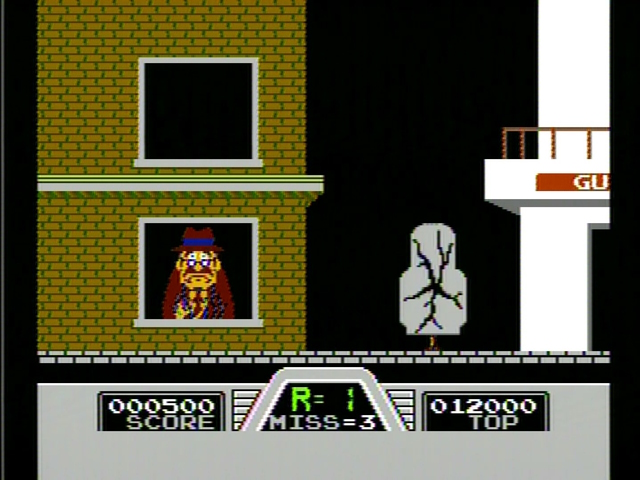
So, uh, can it play lightgun games? Maybe? Probably? It’s definitely good for streaming lightgun games, if you want to play on a composite CRT (still quite available, at least here) and give your viewers a nice crisp RGB picture to view on their LCDs at home.
Another thing to note is that Hogan’s Alley is one of the games krikzz mentions that you need to reset the console after booting up. It doesn’t quite wait long enough for the RGB Blaster before it starts writing to the PPU, so the Blaster misses data and can’t display a picture. I don’t consider this a big deal at all, but I guess it might bother some people. As far as I know every Famicom model this is compatible with has a reset button.
No audio?
The astute among you will note that the RGB Blaster has been mentioned on the blog before. Back in the expansion audio post, I noted:
It is theoretically possible for the cartridge to do something with the audio in pin other than mix in expansion audio; for example, it could generate DTMF tones and output them somewhere else, or use a cassette tape. As far as I know, this was never done during the lifetime of the NES– neither the Famicom Network System nor Family BASIC rely on the 2A03’s audio output. But there is something coming up that will– Krikzz’s RGB Blaster. This mod will break audio compatibility with that.
I’m still waiting on the Famicom robo-dialer. But this was in context of a mod I did on this particular Famicom:
Essentially, I cut the audio going from the console to the cartridge slot, so that audio would be mixed with nothing. This was done to keep the “stereo” effect done as part of the composite mod; it sends certain sound channels of the Famicom to either ear.
And now, if I use it with the RGB Blaster, Moero! Pro Yakyuu sounds a little like this:
Now you can only hear the expansion audio. This is pretty much never what you want on the Famicom. For me, though, this turns out not to be a problem at all. See, I’m using the Micomsoft Framemeister, and it has a setting to let you use the audio from external RCA jacks usually associated with composite video. So I can just use those. This isn’t just a Framemeister thing; settings like this are pretty common.

I don’t know if anyone actually copied my mod there; but if they did, hopefully this isn’t a problem for them all. It’s not one for me!
Audio caveats
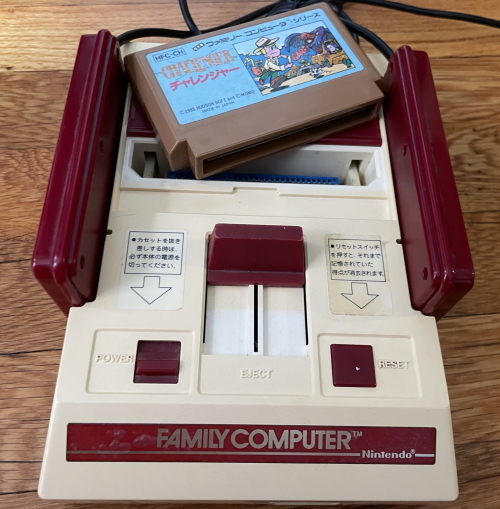
So since we’re talking audio, let’s compare the audio coming out of the system to the audio coming out of the RGB Blaster. I’ve decided to go with the game Challenger, a basic NROM game for the Famicom which doesn’t use any expansion audio, and just routes the audio directly. I’ve basically decided to just start a level and then die. First off, here’s the Twin Famicom’s AV output.
And here’s Challenger over the RGB Blaster. Both of these were captured via the Micomsoft Framemeister and an Elgato Game Capture HD60S in Audacity.
One thing to note is that the AV Famicom’s signal is much quieter. I’ve normalized the audio here, though, so we can take a closer look at the shape of the waveforms. Twin Famicom AV on top, RGB Blaster on bottom:

The two are definitely from the same root source (the good old Ricoh 2A03, of course), but the Twin Famicom’s signal is significantly more rounded off. The Twin Famicom is known for having a different audio circuit than Nintendo’s consoles; you can even see mods online for making it a bit sharper. But much of this filtering occurs after the cartridge audio is mixed in, so it’s all bypassed with the RGB Blaster.
In general, audio filtering like this is a complex topic, especially on a console whose original variant was RF-only. Until MDFourier fully documents the Famicom’s audio, I think it’s best to just go with what sounds best to your particular ear. For fun, here’s my modded Famicom’s stereo output; it’s very similar to the RGB Blaster, as are most emulators.
Famicom Disk System
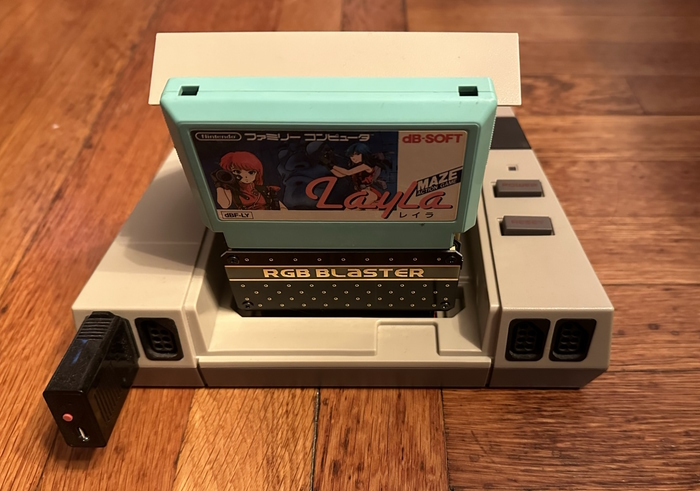
It didn’t work on the Twin, but on the regular Famicom it works fine. It looks pretty silly, but as long as you can shove it between the RAM pack and the console, the Famicom Disk System does work fine with the RGB Blaster. Just make sure you don’t touch the tower.
Nintendo Entertainment System games
So, why is this RGB Blaster released for the Famicom and not for the Nintendo Entertainment System? The same reason I mention in the expansion audio and Famicom Disk System audio; the NES didn’t have the audio pins on its cartridge slot. You could grab it from the RCA jacks on the back, but the toploader doesn’t have those, and it isn’t as all-in-one.
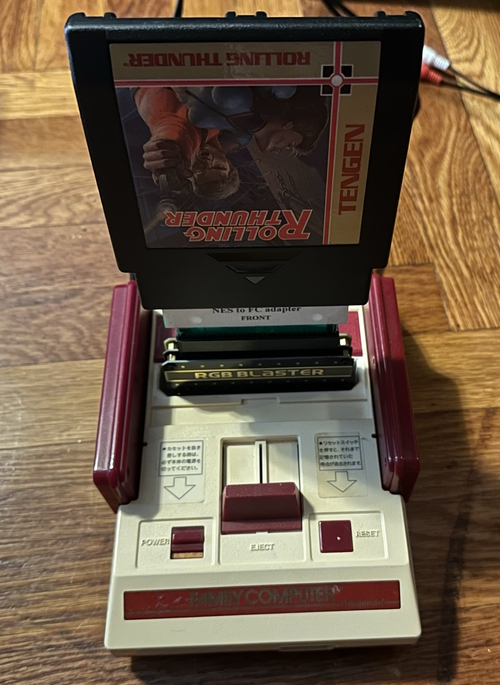
That being said, you can certainly play NES games on the Famicom, with a simple adapter that even provides audio. Well, they provide audio when plugged into a Famicom that doesn’t have as many mods as mine does, anyway. (See above)
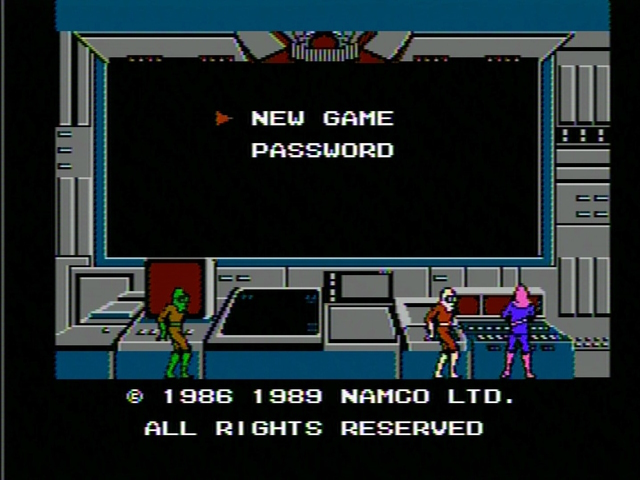
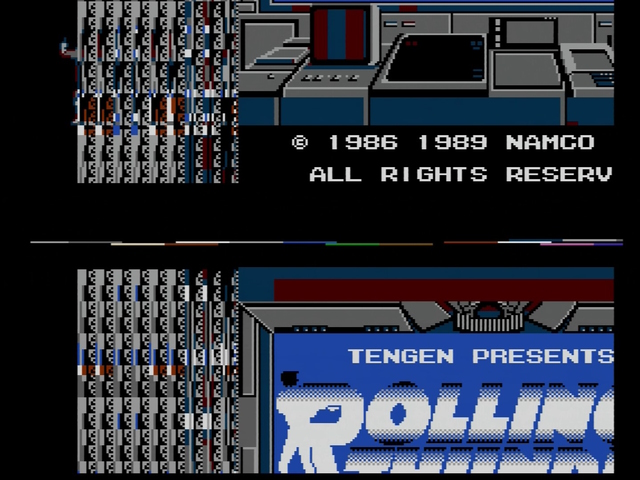
But I noticed something interesting with this game, Rolling Thunder. Here it is in composite video:
And here it is with the RGB Blaster:
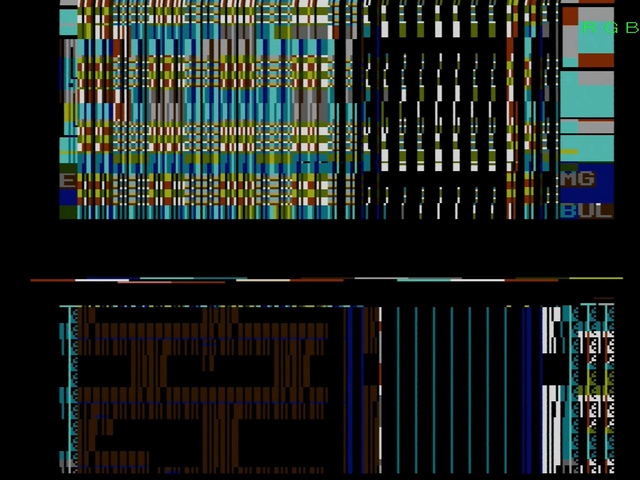
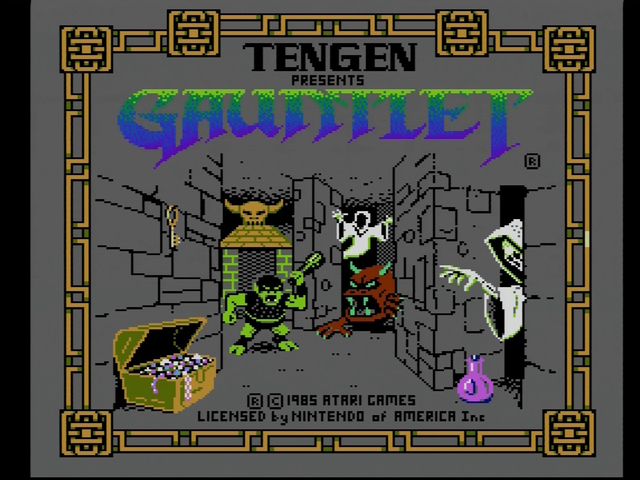
Resetting didn’t seem to help here, nor did reseating the cartridge. I found similar issues with Gauntlet played over the cartridge adapter. This version of Gauntlet is the Nintendo release, by the way, so it’s not Tengen’s fault.
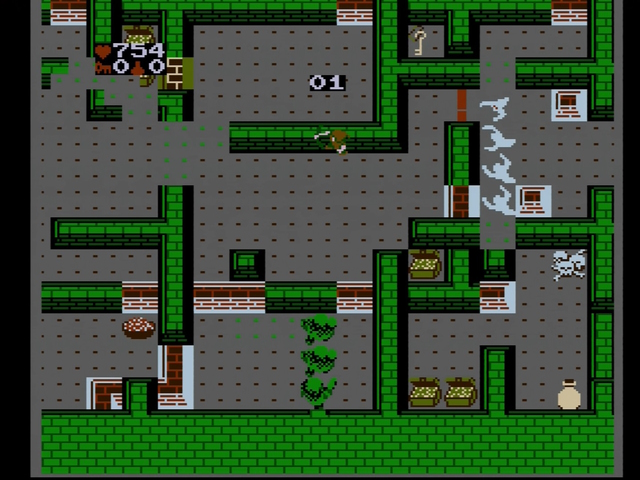
Now this surprised me; I chose Rolling Thunder solely because I thought it would look good in a photograph; it’s a CHR-ROM / PRG-ROM game with a mapper pretty similar to the Namco one in Star Wars. (The Japanese release by Namco themselves uses the even more similar Namcot 163) Gauntlet surprised me less, due to its use of cartridge-side nametable expansion, but still, listening to the PPU bus, that should’ve worked fine.
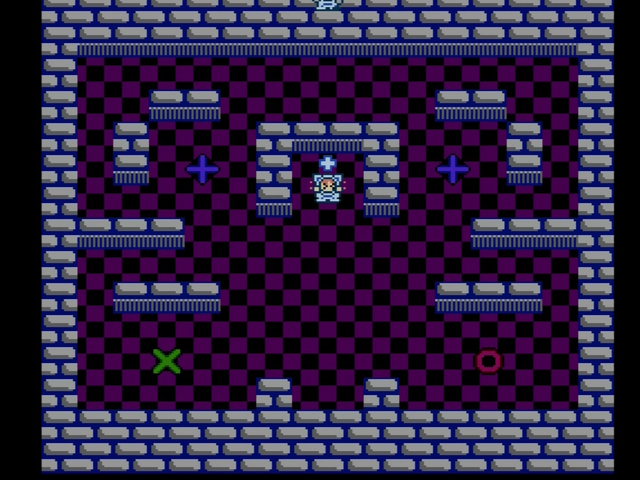
Concerned, I decided to try a simple NROM game. This is the same cartridge I made back in 2020, so it is an NES one and needs to go through the adapter. Note that the sprite garbage at the top of the screen is supposed to be there, I designed the game for aggressive overscan.
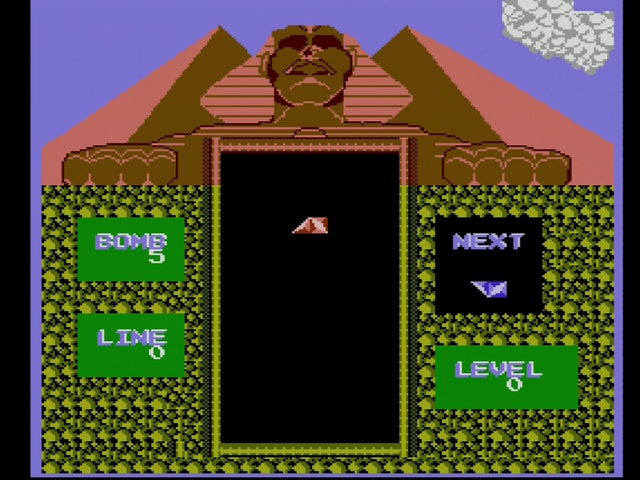
The unlicensed AVE game Pyramid worked fine too. This game uses a pretty simple mapper that bankswitches PRG-ROM and CHR-ROM, but doesn’t do any RAM shenanigans.
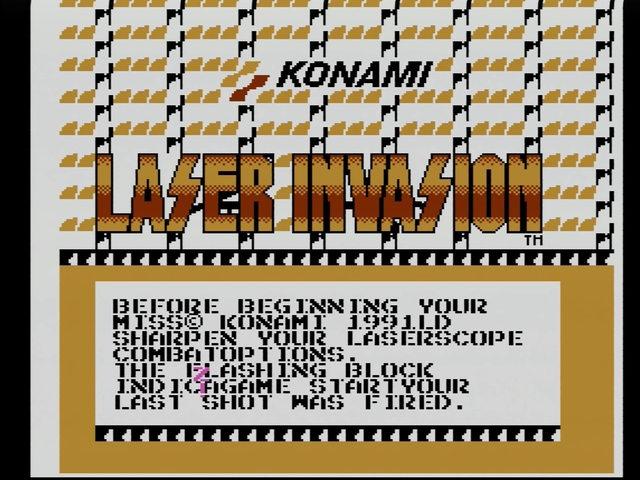
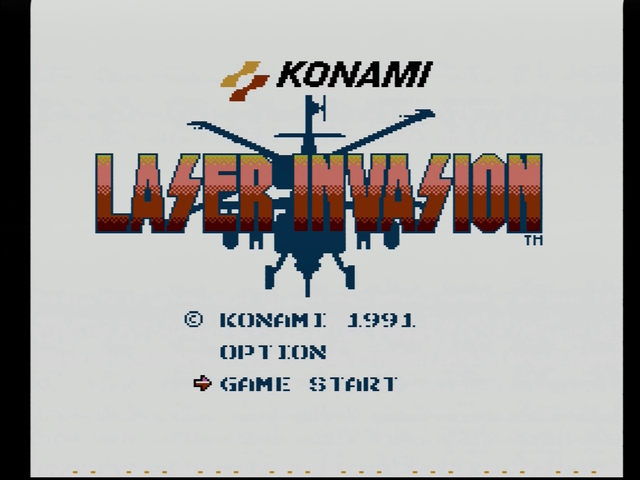
The licensed MMC5 game Laser Invasion on the other hand, had a rough time. So it definitely seems to be limited to more sophisticated mappers.
I don’t actually have any of these games on Famicom. (I don’t think Gauntlet even got a release in the Famicom region; Pyramid did but I think it’s a porn game over there somehow?) But all of the games that are problematic on the RGB Blaster do work fine over my Everdrive N8 in the Famicom cartridge slot. As well they should, they’re both from krikzz.
So that’s a bit disappointing– but I took a closer look at the NES to FC adapter, and noticed something. This one is unmodified, which is why I didn’t test the PowerPak’s music capability, and this is the rear side.
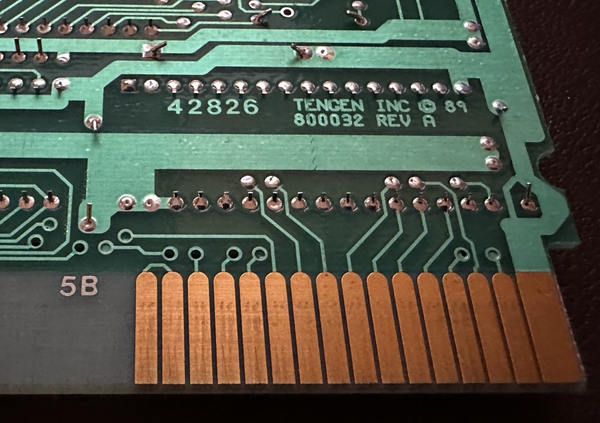
The cartridge bridges the audio in and audio out pins, which isn’t surprising. It also bridges two other signals; CIRAM CE' and PPU A13'. CIRAM CE’ is the chip enable for the internal 2kiB of VRAM; this is active-low. PPU A13' is the inverted version of the 14th address line of the PPU address bus. So this is low when A13 is high; when the PPU is looking at the region above 0x2000. This is the normal behavior of an NES game; it means that the internal memory is used for the nametables. Because they’re bridged, the nametable RAM is always active. But some games, like, say, Gauntlet and Laser Invasion, don’t want this.
So this could be resulting in bus conflicts when I play Gauntlet or Laser Invasion, which I suppose could result in the PPU seeing different values than the RGB Blaster; bus conflicts are often weird and should definitely be avoided. I don’t quite understand why this would cause issues with Rolling Thunder, though. The RAMBO-1 pinout seems to imply CIRAM CE' isn’t touched, and you can see the two pins connected on the PCB:
So that’s an odd one. I can’t find anything else on the NES to FC adapter I’m using that looks weird, but nevertheless, Rolling Thunder refuses to roll. It’s possible my converter is dodgy, or that this could be fixed with a firmware update in the future. It’s definitely an odd one; it seems like the RGB Blaster is unable to even determine where the top of the screen is.
Silly time
So far we learned that the RGB Blaster works great with the Everdrive and very well with Famicom games, but could potentially have some issues with NES ones, especially if you have a dodgy region converter.
Now let’s go with something that I don’t expect to work at all:
The RetroUSB AVS doesn’t have any need for this, with its digital video output. Plus, as I saw when running Family BASIC, it’s timing is subtly different than the stock system. The RGB Blaster is so timing-sensitive that it doesn’t even work well on some PPU variants (which I don’t have).
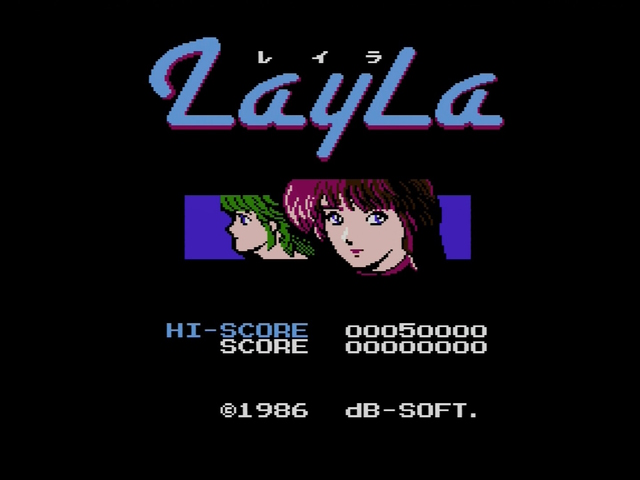
Oh! Well then– it took a few reboots, but that is a surprise.
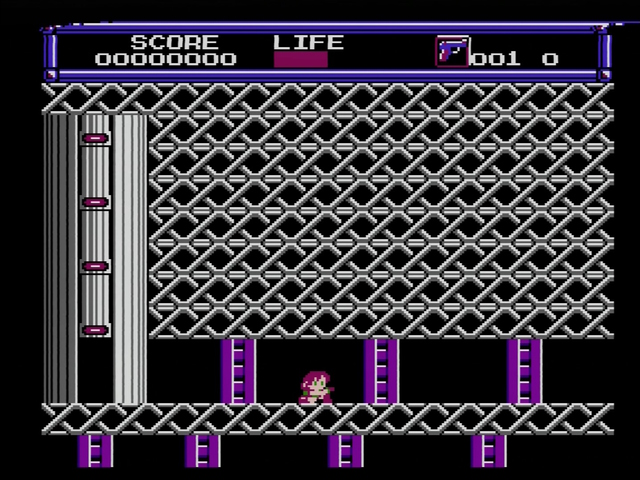
The Framemeister doesn’t like the signal one bit and is only displaying one frame per every few seconds, but my Trinitron was perfectly happy with the signal with juyst some minor curling. Note that there’s no audio; I assume the AVS does a similar trick as my mod to capture cartridge audio, as when playing Moero! Pro Yakyuu I only hear the sampled sounds like in the video above.
Rolling Thunder through the adapter chain still doesn’t work, though. Hey, I couldn’t not try.

One last thing to note is that you can’t see the menu with no cartridge inserted. I’m guessing it’s just not outputting any signals over the cartridge PPU bus, but it does still output power, so you just get a blank screen.
All of this was, however, just for fun. Just use the HDMI output on the AVS.
Put it in a box
All of this blog post was written with the original case; a sandwich of standoffs and a few PCBs etched with graphics rather than chip routes. It’s perfectly fine and worked without issue, but it can be a little shaky. For those of you who want something a little more sturdy, Humble Bazooka has a case for you.
I’m pretty impressed with this; it’s 3D printed, but feels very solid. And with it installed, the RGB Blaster doesn’t move at all; it’s just as solid as any other cartridge. The fingers on either side of the connector also help with the cartridge’s stability.
Blasting off again
You might see this device used for future Famicom image captures to give a nicer picture while being closer to real hardware. Overall, I think the RGB Blaster is pretty great, even if it doesn’t quite hit it out of the park.
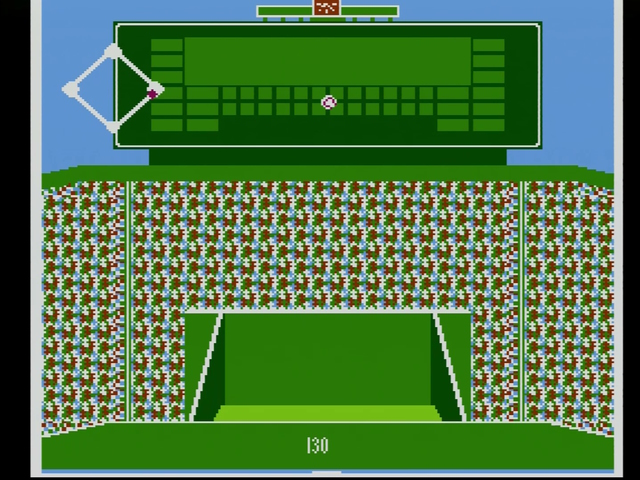
It does have its weaknesses, though– much like the Turbo EverDrive PRO, it makes tradeoffs for ease of use. Unlike the Turbo EverDrive PRO, though, the experience isn’t really compromised at all– when it works, it’s great. When it doesn’t work, it’s not playable at all, though sometimes you can at least see the title screen.
In general, I’m also very excited to see krikzz dipping his toes into the bottomless well that is video output. Curious what we’ll see next!


