Pinball Takes Buttons: Building a controller for Panic Road
So, the central conceit of the supergun enthusiast is that arcade boards are interchangeable. Pop out Fatal Fury: Wild Ambition, pop in Dottori-kun, it’s all the same and it’s all interchangeable, right? But sometimes that just isn’t true. Some games take control schemes aren’t a few face buttons and sticks; sometimes, a game is a pinball game. But we still don’t have room for a cabinet– so what’s a girl to do?
Panic Road

Panic Road is a 1986 title using Seibu Kaihatsu hardware, but usually claimed to be published by Taito; System 16 goes so far as to give Seibu no credit at all for the game beyond hardware. But my copy has a Seibu Kaihatsu copyright and no mention to Taito at all.
What is definitely the case is that it was developed by Visco Games. Visco’s one of those lower-tier developers that don’t get much attention, like Alpha Denshi. And much like Alpha Denshi, they also later covered Neo Geo games. It always comes back to the Neo Geo, doesn’t it? Panic Road, though, seems to have been where they got their start, even if they were uncredited on the title screen. They did get the rights to it eventually it seems, as they would later sell them to PixelHeart in the modern era. They’ve even republished some of their back catalog for the AES, which is interesting though I haven’t tried any of them. (Not sponsored, etc) No Neo Mr. Do, though, probably because of Mr. Do having his own rights.

Seibu Kaihatsu seems to have been a bit more chaotic than some companies when it comes to categorizing their boards; whereas for Sega you can point to obvious Systems, something like Panic Road is a bespoke board, but reusing some common Seibu parts– like. for example, the SEI0050BU shared with 1990’s Raiden. Panic Road uses a Sony CXQ70116D-8 CPU, a clone of the NEC V30, an enhanced clone of the Intel 8086 (yes, that 8086, of x86 fame), with a Toshiba T5812 sound CPU (Z80 clone) underneath that epoxied metal cap.
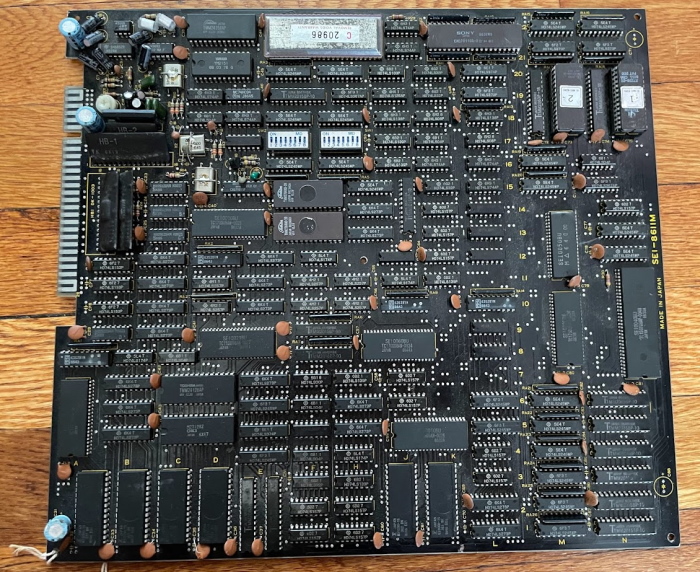
As for the board, it’s basically stock JAMMA on a classy black PCB. Well, it’s close to standard JAMMA. You see, the signals are all the regular places, but there’s a little bit of a issue. See, Panic Road is a video pinball game. Like any good pinball game, it needs a custom set of controls; up-down-left-right and action buttons just won’t do.
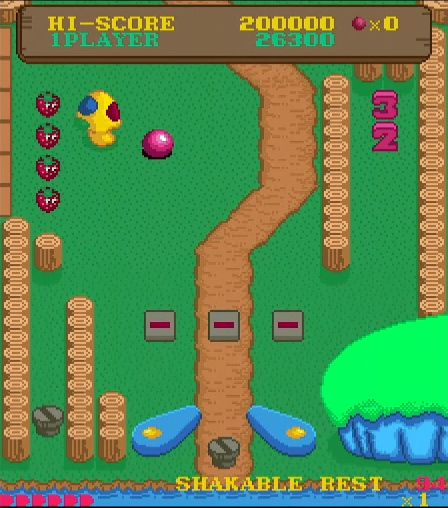
I can’t find any photos of a dedicated Panic Road cabinet online; maybe some of you are better at looking than me. That being said, we can see the intended button layout on the arcade flyer. You see two buttons on the sides of the control panel for the left and right flippers, and shake buttons on the top of the panel.

So what?
So what happens if we try to just play this on a regular supergun setup? Well, the game boots fine, though I will warn you that it’s a bit picky when it comes to power supplies. But now that we’ve got that done with, what about the controls? Most superguns I’ve used take a Neo Geo joystick, or similar using a DB15 port. The JAMMA standard assumes a joystick and action buttons, laid out as follows (parts side only, player 2 is on the other side):

The grounds are labeled because this is how JAMMA buttons are expected to work; when the button pin is attached to ground, the button is considered pressed. Therefore, a joystick doesn’t even need power; it is a fully passive device.
Now, let’s look at Panic Road. A scan of the pinout is on Arcade Museum, I’m not sure of its provenance but it seems to be accurate. Let’s add the Panic Road signals to our diagram.

So if you hook up a Panic Road board to your supergun and plug in a Neo Geo gamepad, the controls will work, but you’ll be using the joystick to move the flippers; moving up will be the left flipper, moving down the right, and left and right are the shake buttons. This is less than ideal for two reasons:
- While this is a tate mode game that requires a rotated screen, also rotating your controller is a pain
- A typical joystick does not allow for opposite directions to be pressed at once. This means you can only use the left or right flipper, not both. (There are exceptions, but who is playing Panic Road on a Hit Box)
Now, I like video pinball. So I’d like to play this board. At the end of the day, while I could remap the buttons to, uh, the buttons, it seems like it would be more fun to build a dedicated pinball controller for my supergun. And that’s just what I did.
Behold, a box

So, that’s why I bought this bamboo box on a major online shopping conglomerate’s website. It’s maybe a bit taller than it needs to be, and smaller would probably be better, but I was more worried about not having enough space than being too large. It has a magnetic clasp, which is kind of convenient. Drilling the button holes was easy with my Forstner bit, and the only real issue was that I attempted to drill them by hand because I didn’t feel like finding the battery for my drill. Do not recommend.

The buttons I installed are leftover from the ToyShock modding project; the coin button in particular is literally just the original coin button from the ToyShock; after doing the initial blog post on the mod I later replaced it with a stiffer microswitch button. I enjoy those stiff buttons, so one is in the start. The blue buttons are the shake buttons from the ToyShock, and the green buttons would later have Cherry microswitches on board.

The hardest part was the rear. I wanted to use a DB15 breakout box for this, for two reasons:
- So that I could use a standard DB15 extension cable for a printer or otherwise, which I already had for other supergun joysticks.
- So that I could change the wiring in the future. The box is placed off to the side so that switches could later be installed if I got, say, a Time Scanner board with a different pinout.
Unfortunately, this meant I had to drill a rectangular hole. My goal was to use a smaller drill to hog out the bulk of the material and use files and a dremel on the rest; but it was my first attempt, and it didn’t turn out great.
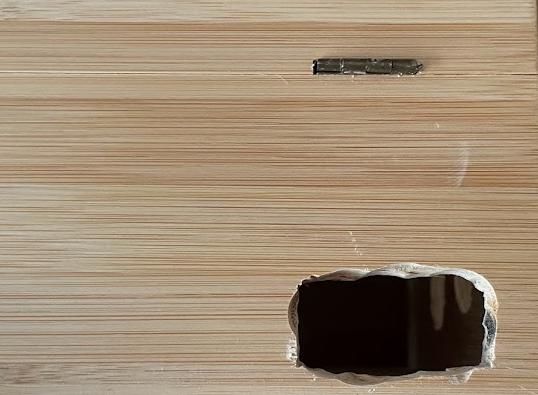
So that was a bit ugly. The dremel I used was underpowered for wood, I think.
Wiring
Wiring the box was in fact, incredibly easy. The DB15 pinout for the Neo Geo is widely available, so I just needed to know what the up, down, left, and right are. The most complicated button is actually coin. I’m planning on using this with the Axunworks Supergun Mini, and that maps the coin button to button 3, which is the Neo Geo’s select button.

However, the Retroelectronik Supergun Essential I used before then mapped coin to button 2, which is unused on a Neo Geo pad. (This was to free up select to be used for button 5, making it possible to use a Neo Geo pad on the 5-button Atomiswave) Always know how your particular Supergun works. For many games this isn’t necessary and I could’ve left off a coin button, but for Panic Road, there is no Free Play option.
Behold, a box
I used Sugru to putty around my awful attempt at drilling out a hole for the DB15 breakout. This was my first time using it– it’s a sort of moldable glue– and while it worked pretty well to secure the box, but it does mean that if I ever want to reopen it to wire it differently, I’ll have to now break the Sugru.
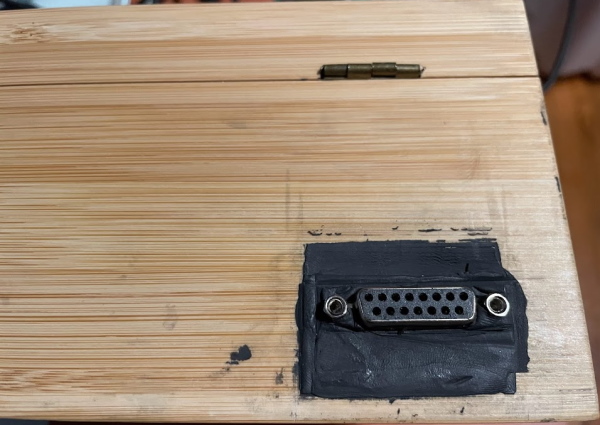
Finally, I gave the box a finish with some food-grade mineral oil I had lying around for use with cheese boards. It did make the grain on the bamboo pop a little more, though I don’t know if it’s really that noticeable of a difference. This premade box may have already had a treated outside.
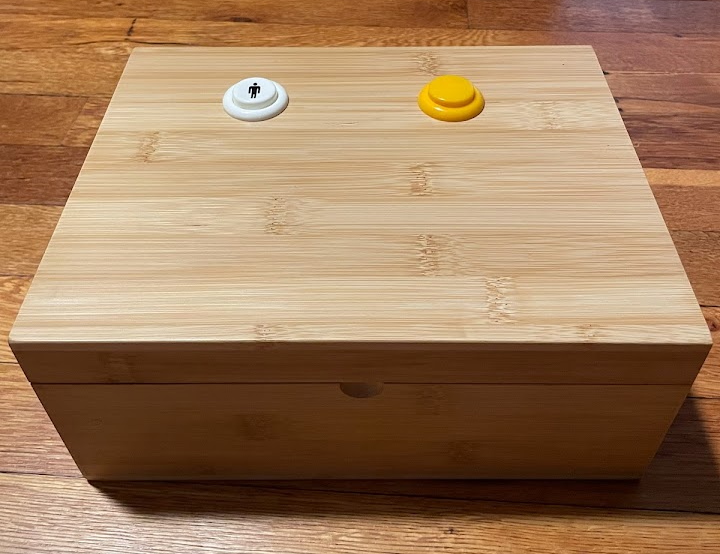
As for the button layout, I put the flipper and shake buttons on the sides, rather than following the Panic Road flyer I posted above. That’s because this is the same layout as the ToyShock, which is more familiar to me than the Panic Road layout. And overall, I do find these controls much more comfortable to use. Way nicer than a joystick.

This was a really fun project to work on; Panic Road is the sort of game that I consider in the perfect niche for a supergun. It’s unlikely to get the attention to warrant a cabinet, so most of its cabinets were probably converted to something else. But it’s still a fun game; and with the proper controls, warrants the time I put into making them.
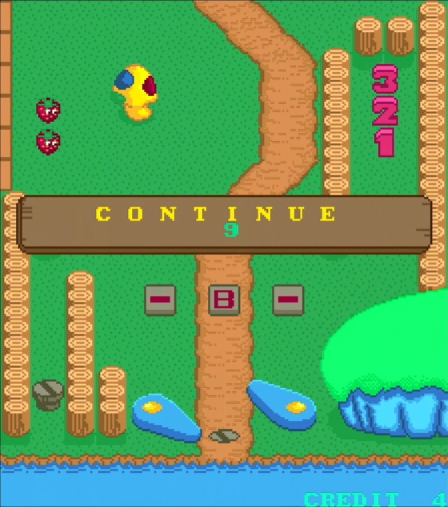
It can’t solve poor playing, though…
